
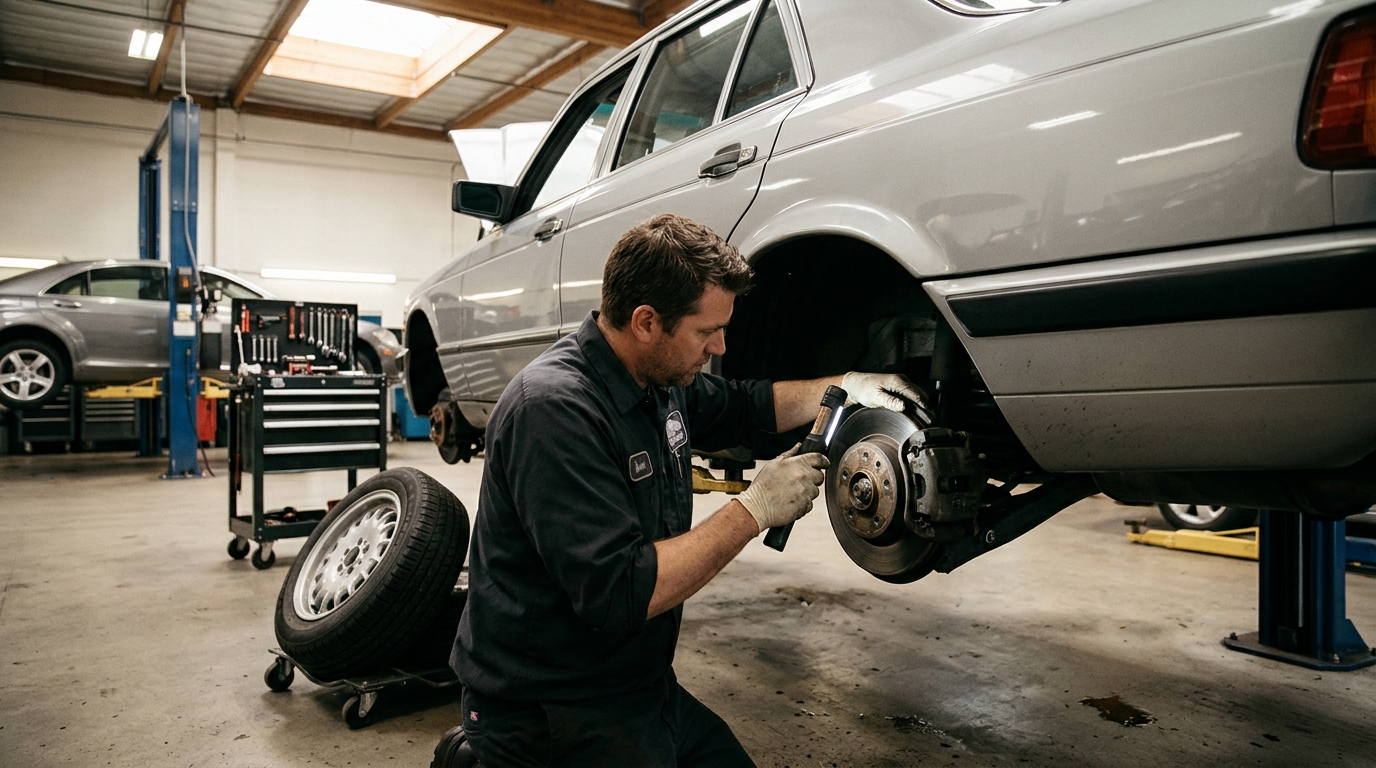
1. Visual Inspection of Brake Pads and Rotors
Technicians first remove the wheel to visually assess the remaining friction material and rotor surface. This initial step allows the mechanic to see the actual thickness of the brake pads without relying on wear indicators. They look for uneven wear patterns, which can signal a sticking caliper or a bent backing plate. GNL Auto Service technicians perform this visual check on all four corners to ensure balanced stopping power.
2. Measuring Rotor Thickness and Surface Condition
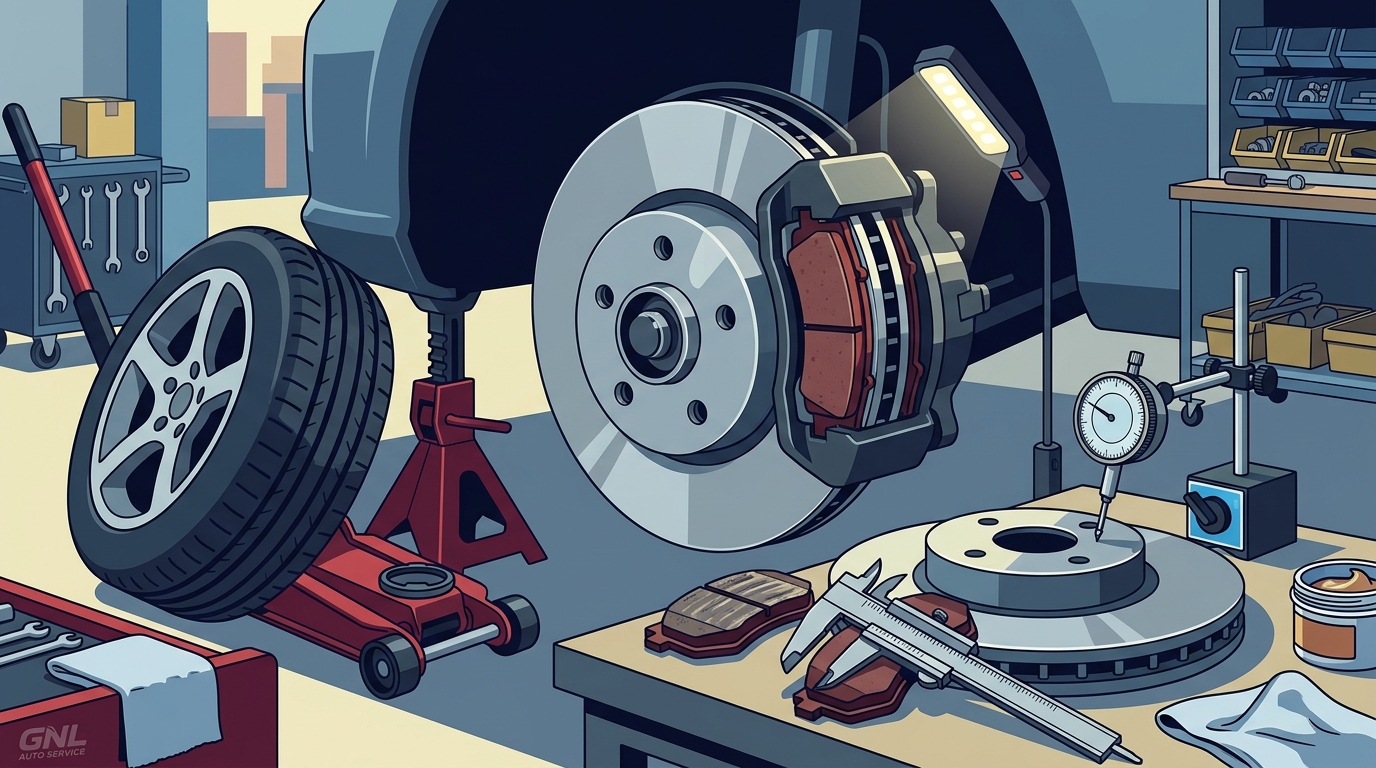
Rotors are measured with a micrometer to verify they are within the minimum thickness limit. A rotor is a disc-shaped metal component that the brake pads clamp against to slow the vehicle. If the rotor is below the manufacturer's minimum specification, it must be replaced rather than resurfaced. The technician also checks for scoring, warping, or glazing, which can cause vibration or reduced braking efficiency.
3. Checking Brake Calipers and Hardware
Calipers are inspected for proper piston movement and signs of fluid leakage. A brake caliper is a hydraulic component that pushes the brake pads against the rotor. Technicians check for seized pistons, worn boots, and corroded slide pins. They also inspect the brake hardware, including shims and clips, to ensure the pads are seated correctly and will not rattle during operation.
4. Evaluating Brake Fluid Level and Condition
The brake fluid reservoir is checked for level, color, and moisture content. Brake fluid is a hygroscopic liquid that absorbs moisture over time, which lowers its boiling point and can cause brake fade. A dark or cloudy fluid indicates contamination and the need for a flush. GNL Auto Service verifies that the fluid level is within the marked range and that the reservoir cap is sealing properly.
5. Inspecting Brake Lines and Hoses
Steel lines and rubber hoses are examined for cracks, bulges, and corrosion. Brake lines are the conduits that carry hydraulic pressure from the master cylinder to the calipers. A small leak in a line can lead to a total loss of braking power. Technicians trace the entire length of the lines, paying special attention to the joints and the flexible rubber hoses that connect to the suspension.
6. Testing the Parking Brake Mechanism
The parking brake is engaged and tested to ensure it holds the vehicle securely. The parking brake is a mechanical system that locks the rear wheels to prevent the vehicle from rolling. Technicians check the cable tension and the condition of the rear brake shoes or pads. They also verify that the release mechanism operates smoothly and that the warning light on the dashboard turns off when the brake is disengaged.
7. Road Test and Performance Verification
A controlled road test confirms that the brakes feel firm and stop the vehicle in a straight line. This final step validates the mechanical findings from the static inspection. The technician listens for squealing, grinding, or clicking noises that may not be apparent in the shop. They also check for any pulling to one side, which can indicate a stuck caliper or a tire issue.
Choosing the Right Inspection for Your Vehicle
Selecting the appropriate level of inspection depends on your vehicle's age, mileage, and driving habits. Drivers who frequently stop in heavy traffic or tow heavy loads should prioritize more frequent checks of the rotors and fluid. If you notice any warning signs, such as a soft pedal or a grinding noise, schedule a full inspection immediately. GNL Auto Service provides clear recommendations based on the specific condition of your vehicle's components.
Frequently Asked Questions
How often should I have a full brake inspection?
It is recommended to have a visual brake inspection at every oil change and a full mechanical inspection every 12 to 18 months. This schedule helps catch wear before it affects your safety or causes damage to other components.
What is the difference between a brake check and a full inspection?
Can I drive my car if the brake warning light is on?
You should avoid driving the vehicle if the brake warning light is illuminated. This light often indicates a low fluid level or a system fault that could lead to a complete loss of braking power. Have the vehicle towed to a repair shop for a safe diagnosis.
Do I need to replace both rotors if one is worn?
It is best practice to replace rotors in pairs on the same axle. Replacing only one rotor can lead to uneven braking and increased stress on the suspension components. GNL Auto Service recommends replacing both front or both rear rotors to maintain balanced performance.
How long does a thorough brake inspection take?
A thorough inspection typically takes between 30 and 60 minutes. The time can vary depending on the complexity of the vehicle's brake system and whether additional components need to be removed for access.